|
|||||||
| Home | Forum | Online Store | Information | LJ Webcam | Gallery | Register | FAQ | Community | Calendar | Today's Posts | Search |
 |
|
|
Thread Tools | Display Modes |
|
|
 06-05-2011, 06:16 PM
|
#1 |
|
Senior Member

Join Date: Mar 2010
Location: San Diego
Posts: 2,385
|
Electrical Putty Installation of Transducer
Electrical Putty Transducer Installation
Not happy with the wet installation results of my transducer I remembered a Youtube video a friend of mine, John Oast, did about installing a transducer with Electrical Putty. http://www.youtube.com/watch?v=3u1d3_UeD3k http://www.youtube.com/watch?v=GEZ9_C1iKP0 I went back to watch how he did the installation and found another video of someone who tested it on 3 different Kayaks with a couple of different installations. I chose to follow what John did with his transducer. Here are the materials needed, I did not photo the Marine goop but that is needed to secure the sponge to the Kayak in this method of installation. 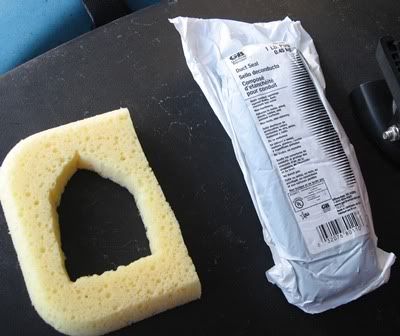 I like having the ring to be the guide for where the transducer is going to be installed. 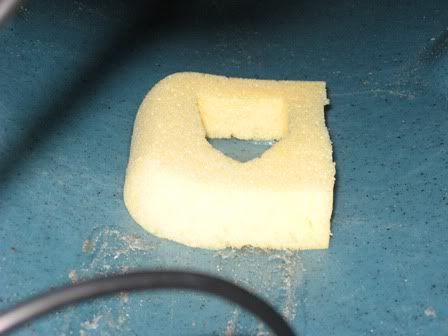 First I cleaned the area with alcohol prior to gluing the sponge. Then I glued the sponge into place and let that sit for about 5 minutes. Then I opened the putty and cut off a little chunk. I then formed that into a small flat slab to put in the center of the sponge opening, making sure to really mush it around to fill the opening. 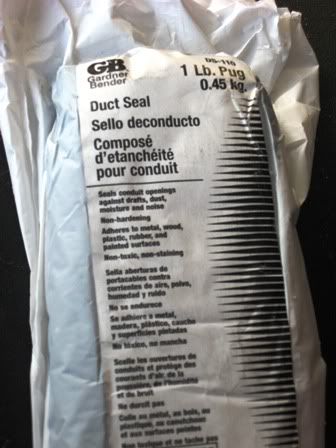 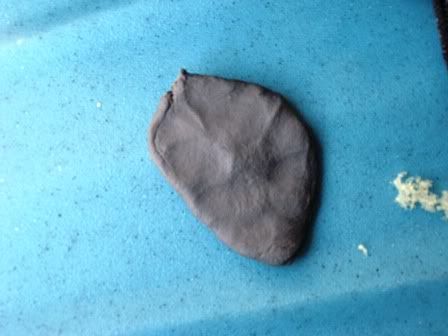 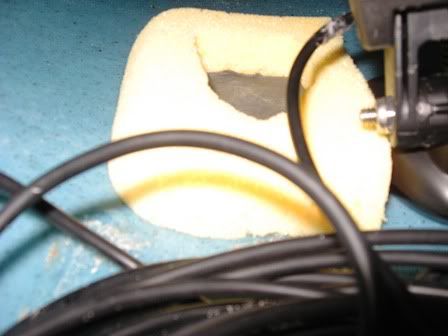 Then I stuck the transducer in the opening and rocked into place. 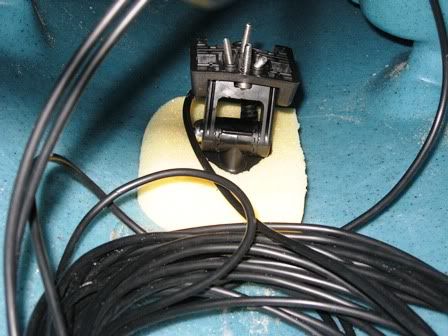 This Putty is sticky and does not let things slip. Prior to launching I made sure the transducer did not move and it had not.  I am very happy with the results I found that the readings were right on, depth wise, and temp wise. The best part to this is I can move the FF to another boat, or Kayak at any time. Cost of the sponge - 99 Cents Cost of Electrical Putty - $1.29 Home Depot Marine Goop and Alcohol already on hand. Time spent on installation including driving 30 minutes. Watch the videos I have included there is a way to install without gluing anything to the hull. Great option if you don't want to glue anything to your hull.
__________________
No better time than being on the water, God Bless, JimmyZ 
|

|

|
|
06-05-2011, 08:17 PM
|
#2 |
|
Olivenhain Bob

Join Date: May 2008
Location: Olivenhain, CA
Posts: 1,121
|
Good job Jimmy. Your method is similar to the grease mount version that I currently use. The wet mount, while very effective can have some problems, most notably leakage.
If you do not see any loss of performance with the putty, this may be a good find as the putty should be less messy than the grease. My only concern would be what happens as the putty ages and dries out. Please keep us posted. Bob |
|
|
|
|
06-06-2011, 04:45 AM
|
#3 | |
|
Senior Member
Join Date: Mar 2010
Location: San Diego
Posts: 2,385
|
Quote:
__________________
No better time than being on the water, God Bless, JimmyZ
|
|
|
|
|
|
06-06-2011, 07:55 AM
|
#4 |
|
Heroes on the Water Staff

Join Date: Mar 2011
Location: Anahiem
Posts: 176
|
I am suprised that putty works. It is mostly clay and some have fiberglass or other stuff mixed in to keep it strong. I used it a lot in Vaccuum sealing applications. Also I would not expect the putty to release air bubbles, which could be a problem.
I am kind of confused after looking at your picture though... It seemed like your Fish Finder screen was all clutered? Is that right? Mine is perfectly clear except where I would expect to see noise or Hopefully marks... Good Luck |
|
|
|
|
06-06-2011, 08:23 AM
|
#5 | |
|
Senior Member
Join Date: Mar 2010
Location: San Diego
Posts: 2,385
|
Quote:
I was a doubtful about the putty myself but I thought well for a $1.29 it can't hurt and if it doesn't work, I'll just Goop it down when I get home. After seeing the results from yesterday, I am very happy with it.
__________________
No better time than being on the water, God Bless, JimmyZ
|
|
|
|
|
|
06-06-2011, 08:23 AM
|
#6 | |
|
Senior Member

Join Date: Mar 2009
Location: Menifee
Posts: 2,509
|
Quote:
|
|
|
|
|
|
06-06-2011, 04:42 PM
|
#7 |
|
Member
Join Date: May 2011
Location: Orange Ca
Posts: 60
|
Question for you guys who made your own live well;
What speed bilge pump are you using? I'm debating between a 500gph and a 360gph pump. The 500 seems like it blasts a lot of water, maybe too much. Any input would be appreciated. Thanks, Randy |
|
|
|
|
06-06-2011, 05:08 PM
|
#8 |
|
Senior Member
Join Date: Mar 2010
Location: San Diego
Posts: 2,385
|
I use the 360 and it works great.
__________________
No better time than being on the water, God Bless, JimmyZ
|
|
|
|
|
06-06-2011, 05:35 PM
|
#9 | |
|
Member
Join Date: May 2011
Location: Orange Ca
Posts: 60
|
Quote:
Thanks, Randy |
|
|
|
|
|
06-06-2011, 05:51 PM
|
#10 |
|
#1 on fishstick's hitlist

Join Date: May 2011
Location: Sea level
Posts: 1,477
|
i didnt make it but its home made. 360gph pump and 3.5gal bucket.
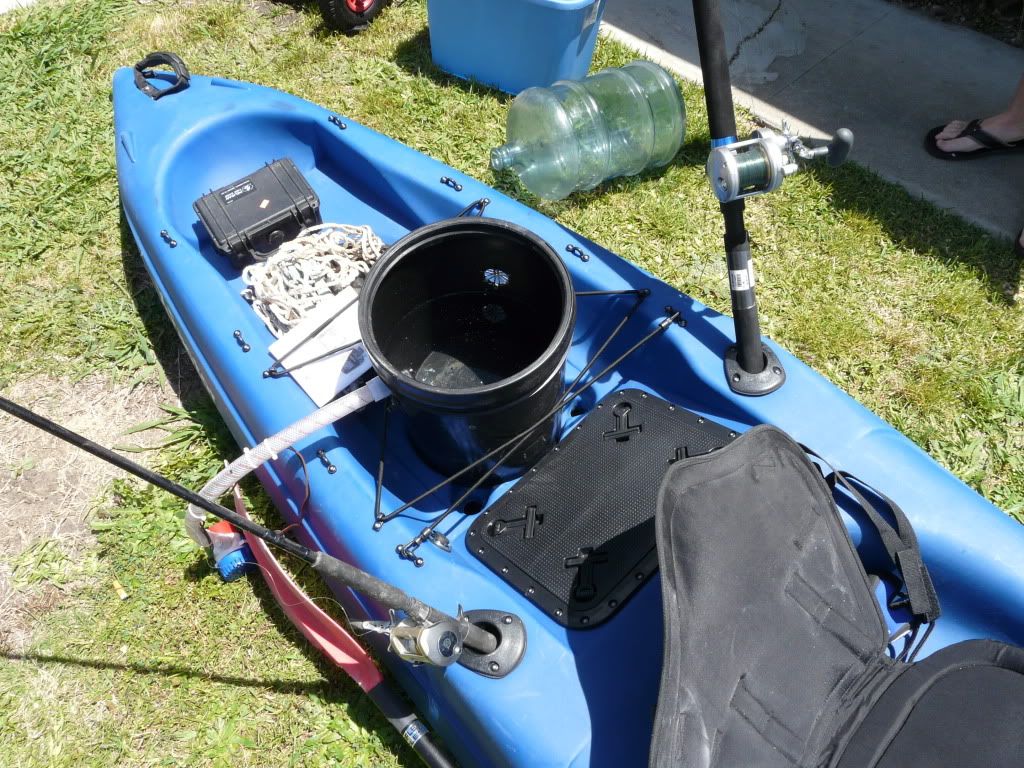 also made a rod holder that goes on the gator hatch. 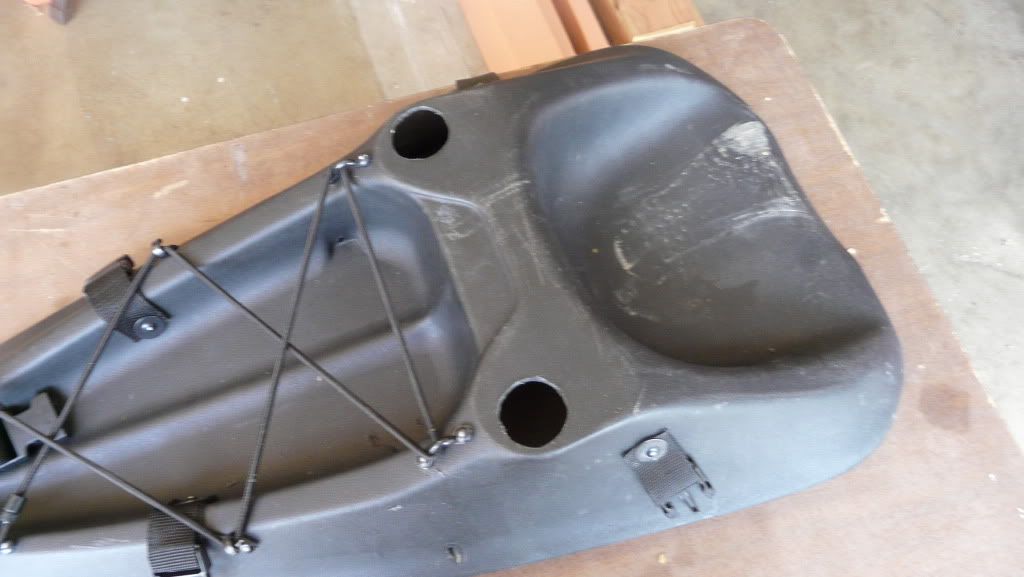 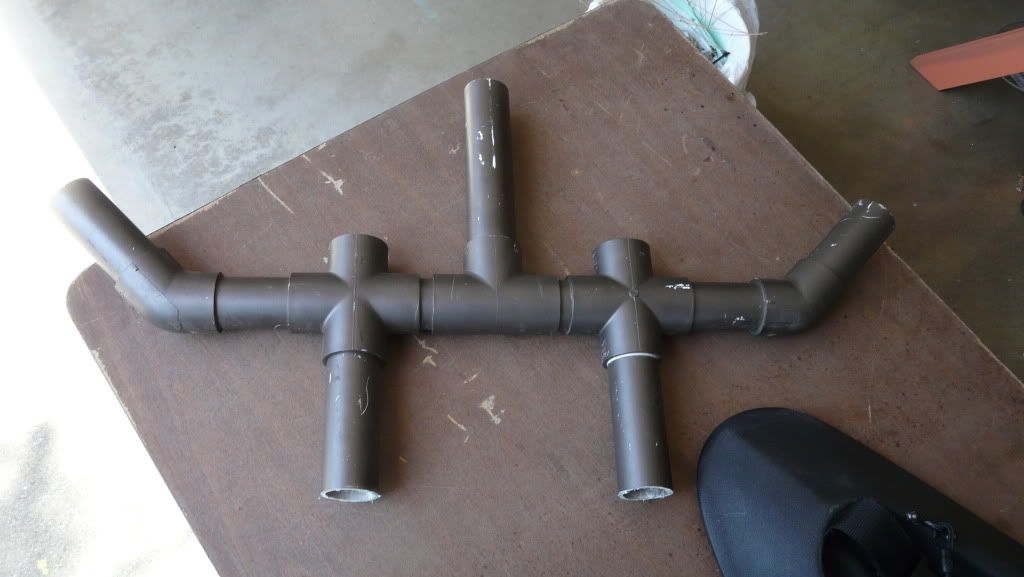 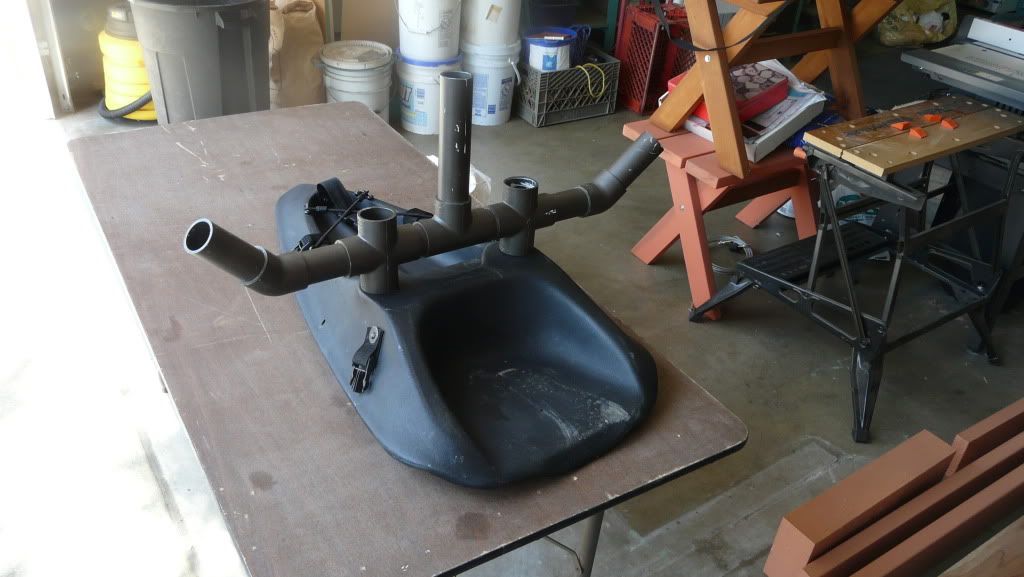 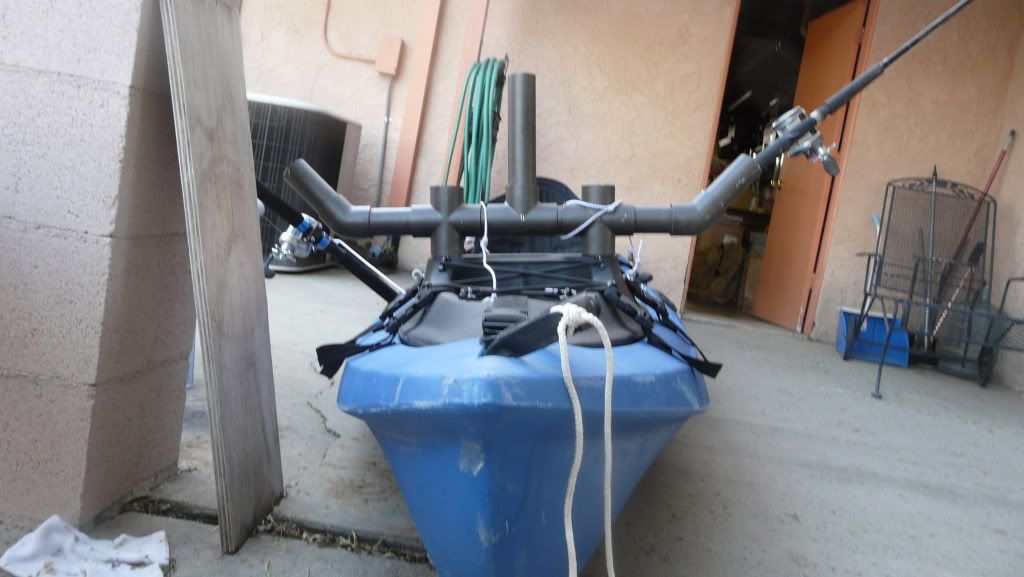 then i cut the bottom tubes to about 1 3/4" and glued a cap to the underside so it clamps the holder to the hatch then extended the top tubes. sorry for the cell pic 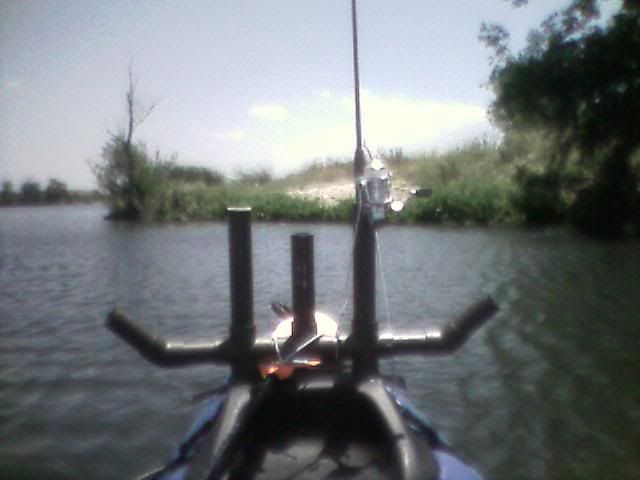
|
|
|
|
|
06-06-2011, 08:09 PM
|
#11 | |
|
Senior Member
Join Date: Mar 2010
Location: San Diego
Posts: 2,385
|
Quote:
__________________
No better time than being on the water, God Bless, JimmyZ
|
|
|
|
|
|
06-06-2011, 07:08 PM
|
#12 | |
|
Olivenhain Bob
Join Date: May 2008
Location: Olivenhain, CA
Posts: 1,121
|
Quote:
I have been using this technique for nearly a year now with no problems. Bob |
|
|
|
|
|
06-20-2012, 02:33 PM
|
#13 | |
|
Senior Member
Join Date: Mar 2010
Location: San Diego
Posts: 2,385
|
Quote:
__________________
No better time than being on the water, God Bless, JimmyZ
|
|
|
|
|
|
| Tags |
| kayak fishing inovations, kayak rigging ideas |
|
|


 Hybrid Mode
